Installation
Click here for written installation instructions. These instructions are also packed with the Onyx products. Templates for all recessed accessories can be found on this page.
Click here for installation videos. These videos include a full shower, a seat, several caddy options, a shower door, and also a window trim installation.

In many cases Onyx material, i.e. shower panels, lavatories, trim, backsplashes etc., will require trimming as part of the installation process. All Onyx material can easily be cut notched or trimmed with standard woodworking tools, to achieve a custom fit. Woodcutting tools such as jigsaws and circular saws with a fine to medium tooth finish blade work best for cutting. A belt sander works great for minor modifications. Here is a link to a skill saw and a belt sander cutting / trimming a wall panel.

The best way to remove excessive silicone is friction. You could use your thumb, credit card, or even a flattened Popsicle stick. If you prefer, you can purchase a mini plastic scraper, (available at hardware stores) There is also a product called Goo Gone that will help remove the adhesives qualities of the silicone. You will need to apply it and then use your thumb, credit card, flattened Popsicle stick or mini scraper to work the edge to get underneath. For a more industrial strength product, you could try a product called DSR-5.

Most of the Onyx wall panel installations are installed over basic 1/2” sheetrock with a coat of latex paint primer. You do not need to mud the seams/corners or fill in the screw holes of the sheetrock. Before applying the silicone to our wall panels, we recommend using a damp cloth to wipe both the surface of the sheetrock and the back of our wall panels before installation. This will help remove any loose dust particles on sheetrock and wall panels to give our silicone a clean surface to adhere to.
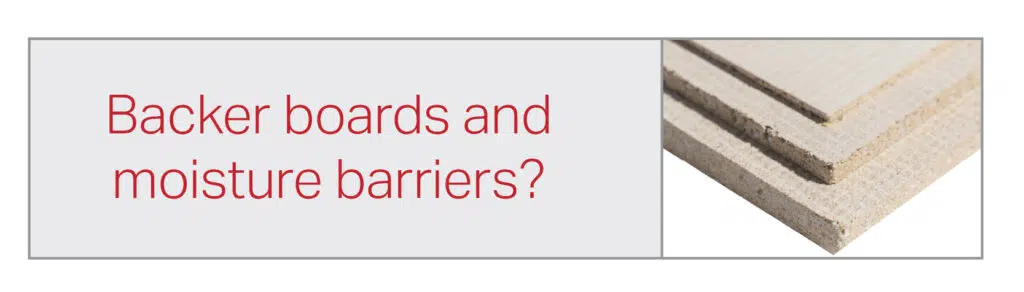
That being said, here are the most common baker boards and moisture barriers that get asked about when installing the Onyx wall panels.
Backer Boards:
Sheetrock, Green board, Purple board – This is an approved backerboard when installing Onyx wall panels.
Cement/Hardi/Concrete board – This is an approved backerboard when installing Onyx wall panels.
Schluter/Kerdi Board – This is an approved backerboard when installing Onyx wall panels.
DensArmor Plus – Our silicone will ONLY stick if the DensArmor is primed first, so please use a basic latex paint primer before installing the Onyx wall panels.
DensShield – Do not use, our silicone does not adhere well and will fail.
Diamondback Tile Backer (Certainteed) – Do not use, our silicone does not adhere well and will fail.
Go Board – Do not use, our silicone does not adhere well and will fail.
Concrete Block Walls – Concrete block walls will not work when installing our wall panels. In the case that you have concrete block walls, you would have to first install OSB/Plywood to the concrete block wall, then install concrete board to the plywood, only after that can you install the Onyx wall panels.
Moisture Barriers:
Oil Based Primer – This is an approved moisture barrier when installing Onyx wall panels.
Latex paint primer – This is an approved moisture barrier when installing Onyx wall panels.
Red Guard – Our silicone will adhere well to the Red Guard moisture barrier, but the Red Guard itself will peel off of normal sheetrock.Red Guard does adhere well to cement/concrete backerboard, so if using Red Guard, you will want to use it with concrete backer board and no sheetrock.
Paint – Do not use, our silicone does not adhere well and will fail.